

Ita Bag Shopping Guide: How to Choose Your First One
YBender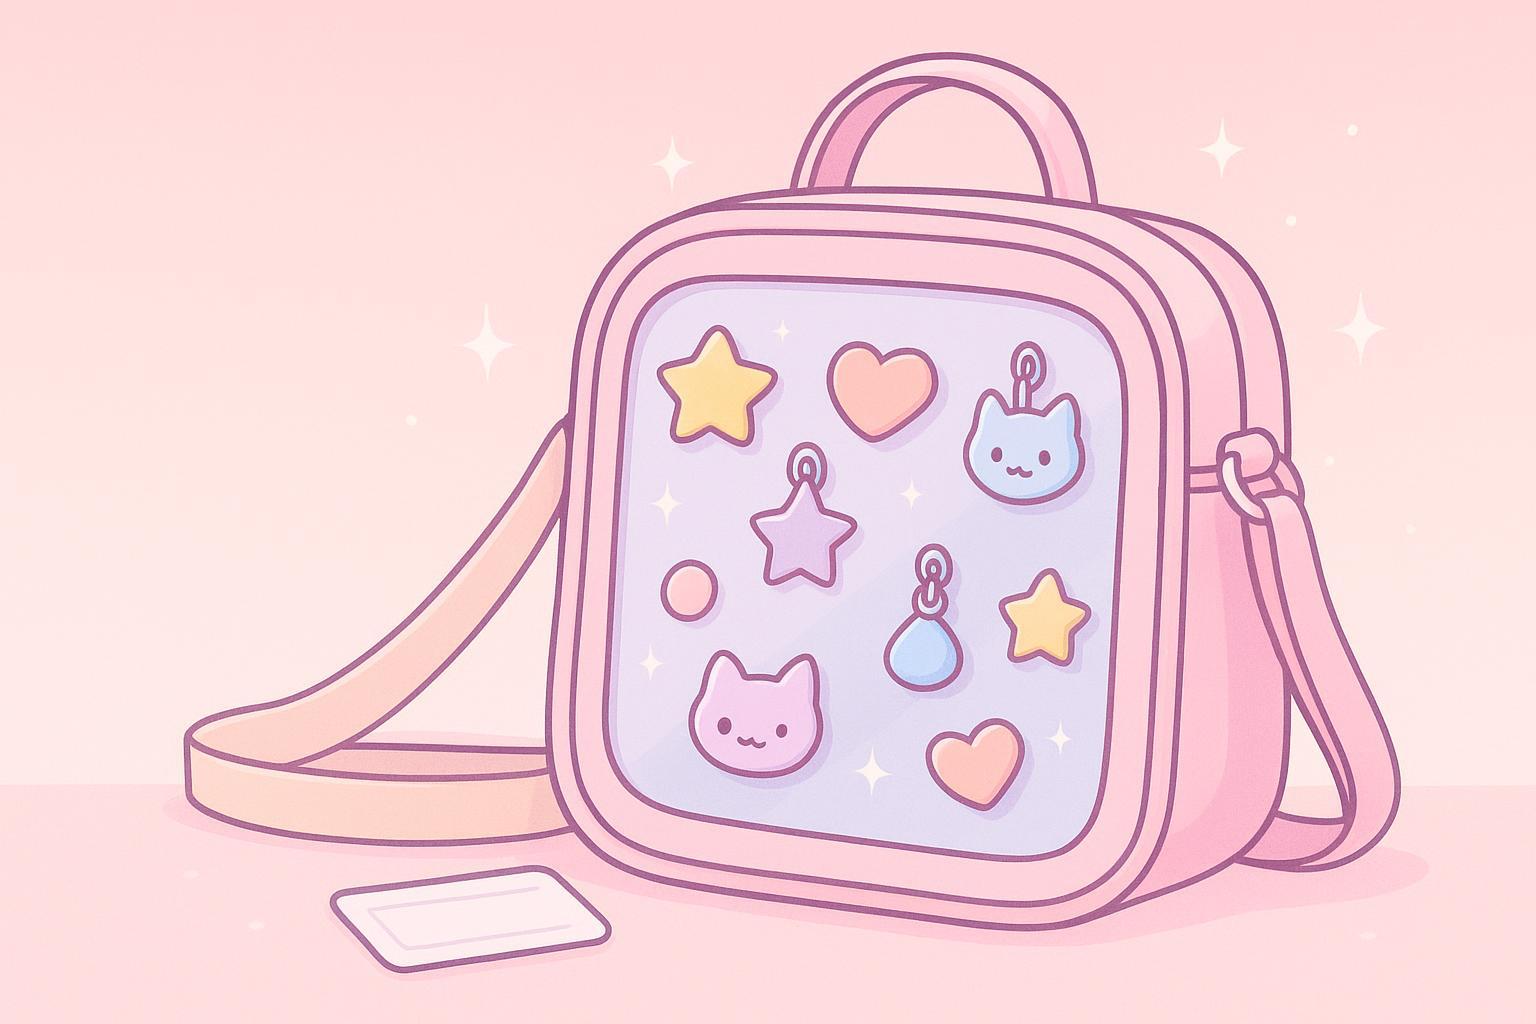
Picture this: you're headed to a con (or just grabbing boba), and your bag is basically a tiny wearable shrine to your favorite character. That's the magic of an ita bag—a bag designed to display fandom merch like pins, badges, and charms behind a clear window.
If you're brand-new, don't worry. You don't need to "know the rules." You just need a bag that fits your life and keeps your merch safe.
According to Wikipedia's Ita-bag definition, an ita bag is a bag covered with fandom items like badges and figurines—often associated with anime and manga fandom.
Pick the option that feels most like you:
- "I want hands-free and comfy" → you're probably an ita bag backpack person.
- "I want cute + light for quick outings" → you might prefer an ita bag crossbody.
- "I want room for snacks + haul" → an ita tote bag is your bestie.
If you want to browse first and decide later (very valid), start with MyItaBag's Shop all collection.
Step 1: Choose your carry style (comfort comes first)
Your ita bag should look adorable and feel good on your body. Here's how to choose.
Ita bag backpack
Best for:
- conventions
- day trips
- heavier displays (more pins = more weight)
What to check:
- strap padding (your shoulders will thank you)
- zipper quality (you'll open/close it a lot)
- weight distribution (a big display window can get front-heavy)
If you're leaning backpack, browse MyItaBag's ita bag backpacks.
Crossbody
Best for:
- casual outfits
- shorter outings
- smaller, "curated" pin layouts
What to check:
- strap length (so it hits comfortably, not awkwardly)
- bag depth (so your essentials actually fit)
Tote
Best for:
- school/work days
- carrying bigger items
- "I need space for everything" people
What to check:
- handle strength (totes can get heavy fast)
- structure (a floppy tote can make your display look wobbly)
Pro Tip: If you're planning a big display, choose comfort first and aesthetics second. A gorgeous bag you hate carrying is… tragic.
Step 2: Choose your display style (window, ita bag inserts, and layout)
This is the part that makes an ita bag an ita bag: the clear display window.
Window size: small "gallery" vs big "billboard"
- Small window = easier to style, lighter, less overwhelming for beginners.
- Big window = more pins, more impact, more temptation to overfill.
Beginner-friendly move: start smaller, learn what you like, then level up.
Why inserts make everything easier
Most ita bags use an insert (often felt/foam-like) inside the display area. You attach pins to the insert—so you're not poking the bag itself.
Why inserts are everything:
- they help your pins sit flat
- they make layouts easier to rearrange
- they reduce wear on the bag
If you want little add-ons for setup and decorating, MyItaBag's ita bag accessories are a good place to start.
Step 3: Protect your merch (so your pins don't yeet themselves into the void)
If you've ever lost an enamel pin in public, you know the pain.
Two beginner-friendly safety upgrades:
1) Use locking pin backs
Factory Pin recommends using locking pin backs as a more secure option for bags and backpacks in its March 2025 guide, Factory Pin's 2025 tips on keeping enamel pins from falling off.
Translation: if your pins are precious (emotionally or financially), locking backs are a tiny upgrade that can save you a lot of heartbreak.
2) Avoid high-friction areas
Even with secure backs, pins placed where things rub a lot (edges, straps, places your arm hits) are more likely to get bumped and loosened over time.
⚠️ Warning: "More pins" isn't always "more cute." Overcrowding can cause scratching, bending, and extra weight.
Step 4: Don't get tricked by "cute"—check these quality signals
You don't need a magnifying glass. Just look for a few basics:
- stitching looks clean (no loose threads)
- zippers glide smoothly
- strap attachment points feel sturdy
- the clear window looks clear and not super flimsy
Step 5: Pick your aesthetic (because the vibe matters)
Now for the fun part.
If you want a soft, sweet look that matches this whole "cute guide" energy, explore MyItaBag's cute ita bags collection.
Quick "must-haves vs nice-to-haves" checklist
Must-haves (for your first ita bag):
- a clear display window
- enough space for your essentials
- comfortable straps/handles for your use case
- an insert-friendly display area (or an easy way to add one)
Nice-to-haves (fun upgrades):
- extra pockets for con essentials
- accessories for layering (chains, charms, display extras)
- multiple ways to carry (convertible strap options)
Red flags (proceed with caution):
- straps that look thin + stressed
- window that scratches easily or looks cloudy out of the box
- a bag that's so tiny it won't fit what you actually carry
Care tips: keep your window cute and clear
Clear windows can scratch if you're rough on them—so gentle care goes a long way.
Kittynaut's guide, Kittynaut's ita bag care guide, recommends avoiding acetone/corrosive cleaners and sticking to gentle spot cleaning (no machine washing).
Simple care routine:
- wipe with a soft cloth
- avoid abrasive sponges
- store away from heat/sun (don't bake it on your car dashboard)
FAQ
Are ita bags only for anime fans?
Nope. They're most associated with anime/manga fandom, but you can use an ita bag to display anything you love—games, bands, K-pop, cute art pins, you name it.
How many pins should I put in my first ita bag?
Start small. A clean 6–12 pin layout often looks more intentional than cramming in everything you own.
Backpack or crossbody: which is better for beginners?
If you're going to conventions or carrying more stuff, backpack wins for comfort. If you're styling outfits and want something light, crossbody is usually easier.
Next step: pick your first bag the easy way
If you want a low-stress way to start, do this:
- Choose your carry style (backpack / crossbody / tote).
- Pick your vibe.
- Add a couple extras if you want to decorate more.
Then go browse for five minutes and save your favorites. That's plenty to get your first ita bag journey started.